Keen on growing lavender in your home? Though these iconic blooms require different care to most tropical houseplants, they are not difficult to grow with some basic knowledge.
Here are 7 key tips on growing lavender in planters. It’s everything a beginner gardener needs to know to enjoy full, fragrant blooms!
This post may contain affiliate links. If you make a purchase, I may earn a small commission at no extra cost to you. As an Amazon Associate, I earn from qualifying purchases. Read more about these links in my disclosure policy.
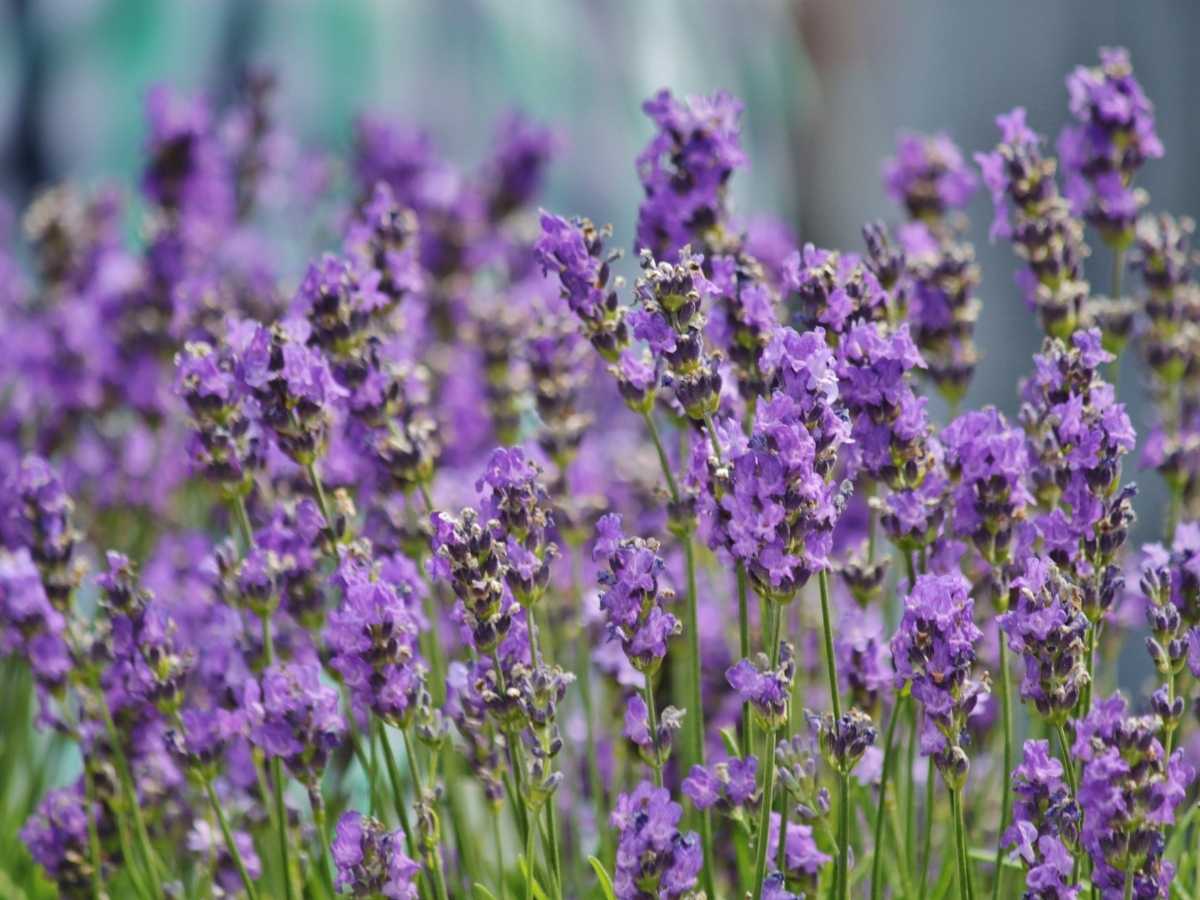
Tip 1: Choose Lavender Hidcote or Munstead for your lavender planters
There are 3 main types of lavender: English (Lavandula angustifolia), French (Lavandula dentata) and Spanish (Lavandula stoechas).
If you are a beginner gardener, we recommend that you opt for the common English lavender: Lavender Hidcote or Lavender Munstead. Both cultivars are incredibly fragrant and are much hardier than their French and Spanish counterparts. Interestingly, the English variety is also found to be more attractive to bees.
Unlike other varieties, Lavender Hidcote and Munstead endure warm and cold climates, even tolerating frosty winters down to a numbing -20 degrees F (-30 degrees C!). The good news is that you don’t need to relocate your planters indoors during the winter or fuss too much about temperature changes.
These hardy English varieties are also less fussy about light levels, and more tolerant of lower-light.
At maturity, they grow to 2 – 3 feet (60 – 90cm) tall, making them the perfect size for container gardening.
Tip 2: Choose a Terra Cotta Planter with Drainage Holes
Hailing from the Mediterranean, your lavender is used to drier conditions. So, choose a container that promotes fast drainage and aeration.
- Use terra cotta or clay containers as they naturally allow water to evaporate from its surfaces. There is a risk that the water pools within the pot and invites root rot when using plastic or metallic pots.
- Use a container that has large drainage holes and keep the holes clear.
- If possible, choose a planter with little “feet” that elevate the planter above ground — this ensures that any excess water drains freely from the bottom of the pot.
- Alternatively, you can use sturdy tiles or pieces of wood to elevate the four corners of your planter.
- Lastly, use a planter that measures 14 to 16-inches wide and has the same proportionate depth. Don’t be afraid to start off with larger sized pots, as you want your planter to hold ample soil to insulate roots from temperature changes and promote full growth.
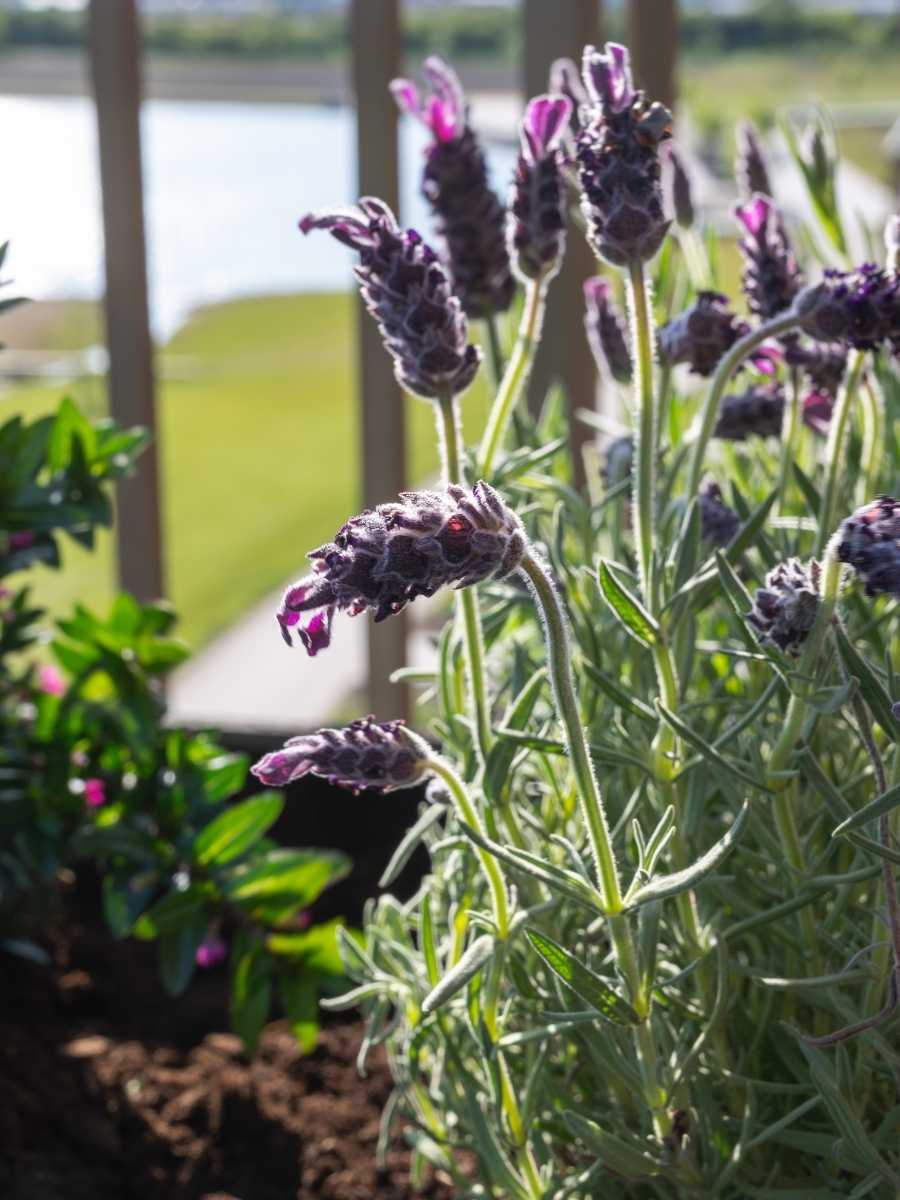
Tip 3: Aim for Full, Direct Sun for 8 hours
Lavender love to bask in the sun! Aim for 6-8 hours a day of full, direct sunlight for optimal growth. If you need your plant to tolerate lower-light conditions, you stand the best chance with the Lavender Hidcote or Lavender Munstead cultivars.
If you intend to keep your lavender indoors, place it directly next to South-facing windows to soak up sunlight when it is at its brightest. Rotate the pot 90 degrees every week so that your plant grows and flowers uniformly.
If your plant is outdoors, make sure it is sheltered from heavy rainfall.
Tragically, too little sun leads to weak, spindly growth and smaller and less fragrant flowers. Another problem with too much shade is that the soil will not dry rapidly enough after watering, causing your plant to sit in moist soil and invite root rot.
If you must, use a grow light if your home doesn’t get much natural light.
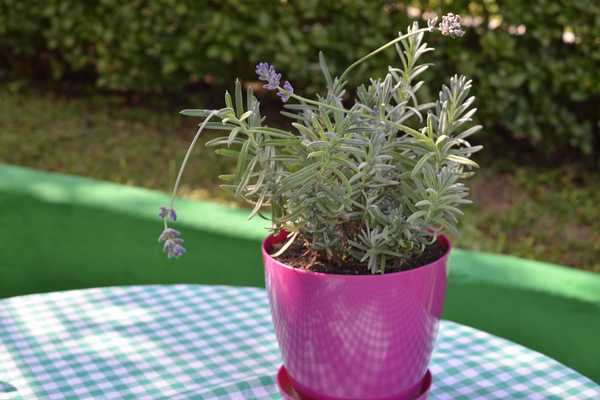
Tip 4: Choose a Fast-Draining, Slightly Alkaline Soil
Choosing the right growing medium for your prized lavender is essential. Loose, airy soil allows your plant’s roots to breathe, and coarse substrates enable excess water to drain away quickly. Lavender also likes slightly alkaline soil (pH 6.7 and 7.3 is best) rich in calcium.
We have found that the best growing medium is 1/3 perlite mixed with 2/3 loam-based potting soil (our favorite is FoxFarm Ocean Forest Potting Soil) and added garden lime.
Most commercial potting mixes are slightly acidic, so adding lime is essential. If you want to check the soil pH, use a soil test kit. These are usually inexpensive and easy to use.
Tip 5: Do not Overwater
Overwatering is one of the most common reasons behind an ailing lavender plant. Established lavender are naturally drought-tolerant and are susceptible to root rot. Here’s how to nail down this critical aspect of care:
When to water:
- Water only when the top 2 inches of soil is dry. Always use your fingers to check if the soil is dry before watering. If in doubt, err on the side of underwatering.
- As a rule of thumb, established lavender only needs watering once every two weeks during Spring and Summer. Young lavender (in its first two years) needs watering once a week during the growing season.
- During the Fall and Winter, don’t be surprised if watering frequency falls by up to half. Growth naturally slows during this time.
How to water:
Water thoroughly until excess water escapes through the drainage hole at the bottom of the planter, encouraging roots to grow deeper. Deeper roots make your plant less fragile and are known to increase the efficacy of drawing water and nutrients for growth.
Also, watering in this fashion mimics their native Mediterranean climate: occasional rainfall interspersed with long dry spells. Resist the urge to water shallowly and frequently. This invites root rot, which your lavender is susceptible to.
Root rot results from moisture-loving fungi feeding on your plant’s roots. It is also the result of densely-packed soil that doesn’t allow your lavender’s roots to breathe. If left untreated, root rot will cause your plant to die.
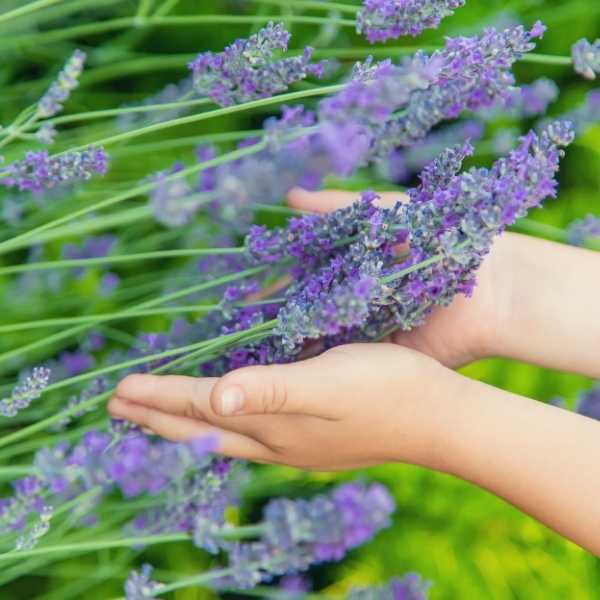
Tip 6: Hold off on the Fertilizer
Unlike most foliage houseplants, lavender does not like rich, fertile soil. Recall that its native growing medium is gritty and arid, so your plant is best suited to these conditions. Instead of benefitting your plant, excess nitrogen is harmful!
All this to say, do not use fertilizer on your lavender. It will overwhelm your plant and do much more harm than good.
Tip 7: Prune Lavender in Late Summer
Pruning your lavender is not just about aesthetics; it is essential for healthy growth. From its first to the second year, lavender doubles in size and grows two-thirds bigger from its second to the third year. Pruning encourages your plant to flower and prevents it from getting too woody.
- Prune the lavender by cutting 2 inches above the softwood (this is the woody parts at its stem), and ensure that some new leaves that are left behind. New growth cannot emerge from old woody stems so you never to want to cut into the woody parts.
- Pruning promotes growth and keeps the lavender compact. It “teaches” the lavender to grow in a little mound, whilst allowing you to harvest lavender flowers!
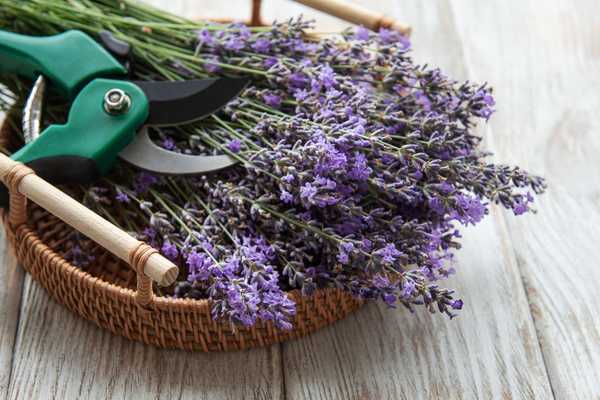
- The best time to trim your lavender is late summer, just after flowering has finished.
- Invest in high-quality gardening shears – you’ll need it!
Wrapping Up
Lavender is a beginner-friendly plant that is perfect for container gardening. Few plants are as easy to care for and fragrant as these iconic blooms. The most important thing is to remember that your plant comes from a dry and arid climate, so ensure the conditions you provide mimic this environment for optimal growth.
If you follow these tips you’ll be harvesting purple blooms for your home (and baths!) in no time!
This article was written by guest author and houseplant enthusiast Deborah from Gardening Collective. For more houseplant tips and advice, be sure to visit her site!

