Want to install new blinds in your home, but don’t want the hassle or mess of drilling holes? Maybe you don’t have the tools, or are renting a space where drilling isn’t allowed? With these no tools blinds, you can easily hang blinds without drilling! Read on to learn how.
Installing Blinds is Easier than You Think
With so many people working from home, DIY has become the number one form of renovation, not to mention the added time at home makes people want their homes to feel more comfortable. When it comes to redecorating, DIY furniture and art pieces are usually at the center of any home renovation.
However, it is the finishing pieces people tend to forget about. A significant detail that can make or break any room is window coverings. Yes, blinds.
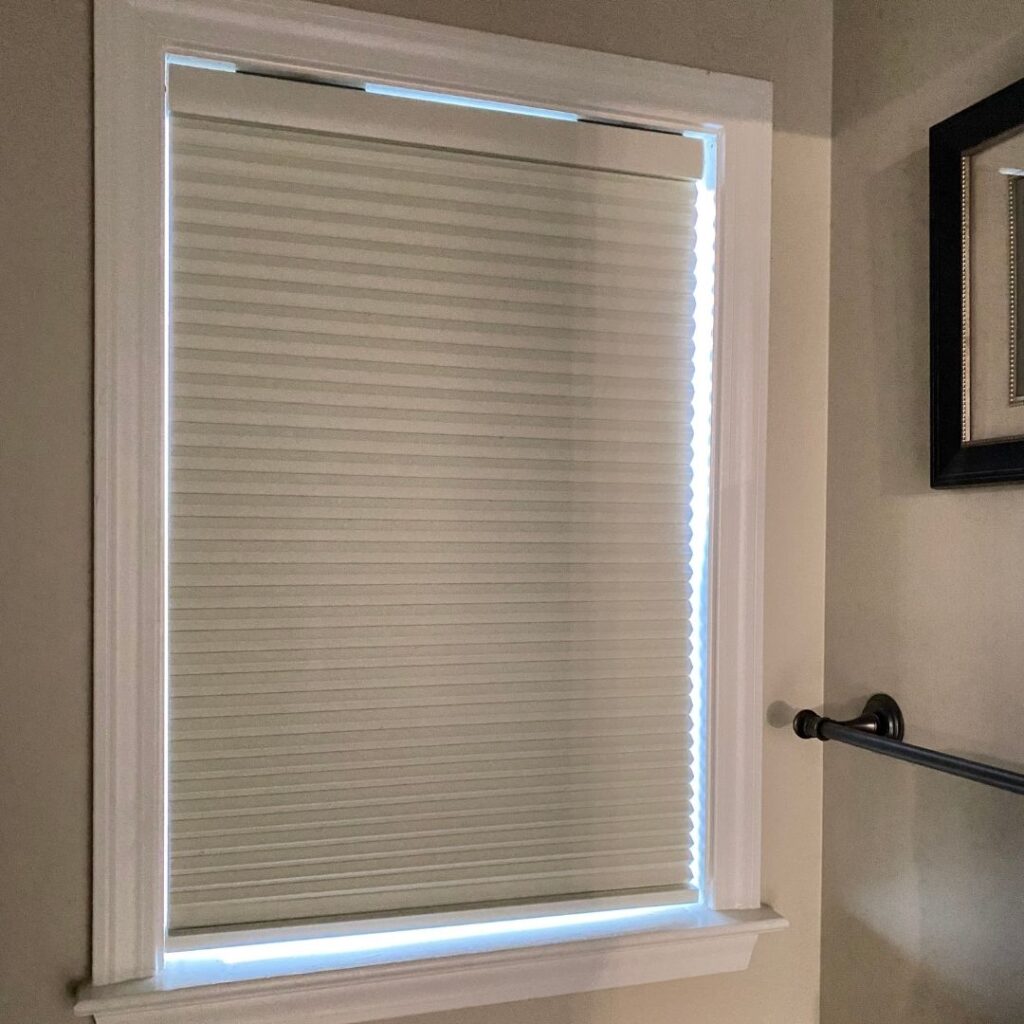
Blinds can be a lot of work to put up, and in many cases, dreadful. There are a lot of projects I enjoy doing myself, but hanging blinds isn’t usually one of them! I even hired someone to hang blinds in my living room because I was so intimidated.
That’s why I was so intrigued to find blinds that could be hung without using ANY tools at all!
Being able to install blinds without the use of tools can turn a daunting task into a fun DIY project. When you think of DIY, “blind installation” doesn’t typically come to mind. Without the use of tools, customizing your own window coverings can be an enjoyable process.
It is also a more affordable option compared to window coverings that require professional installation – a detail that I’m always happy to hear!
How to Hang Blinds Without Drilling
No tools installation blinds allow for quick and easy installation by using mounting brackets that have an ultra-strong 3M adhesive providing a secure hold.
Installation is also much easier because it can be easily done by one person. In just a few minutes’ time, I read through the instructions and got started.
After removing my old window covering (it was here when we bought our house and had totally stopped working), I tossed it in the trash. It was a disaster.
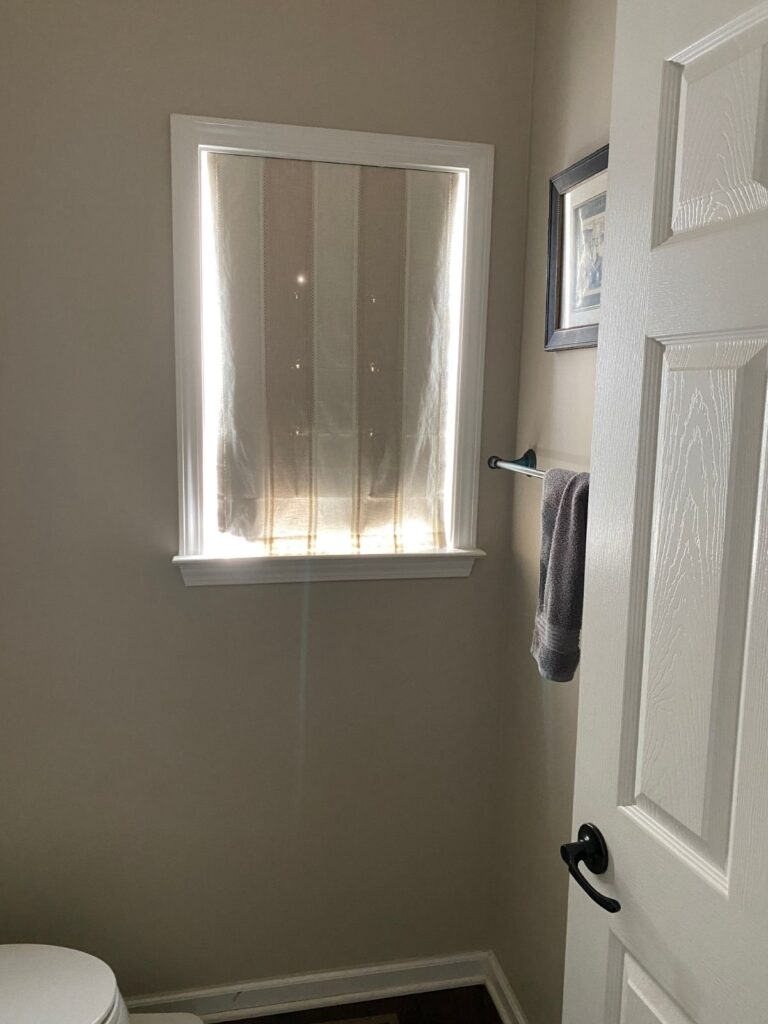
I cleaned the window and used the alcohol pads to clean off the area where the brackets would be attached. Then I used a pencil to mark the place where the brackets would go.
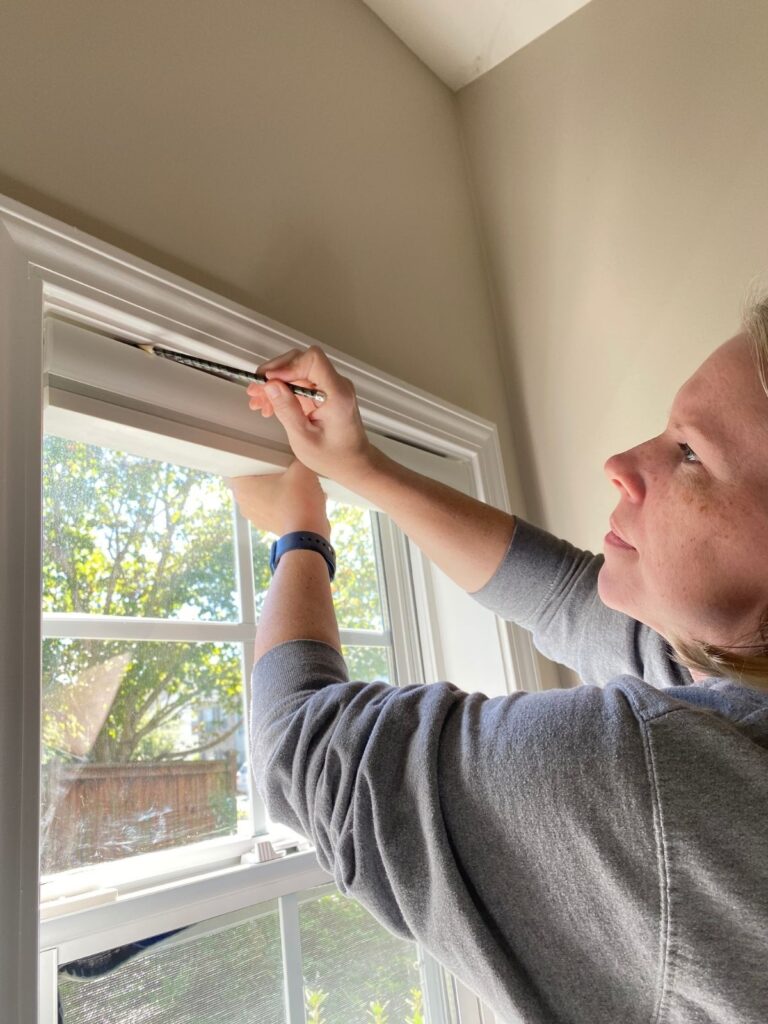
I chose to mount the brackets closer to the front of the window frame, to leave space between the blinds and the window glass.
Next, I applied the mounting brackets to the inside of my window. You have to press the adhesive in place for 60 seconds so it sticks really well. This was the most “difficult” part of the whole project – which wasn’t difficult at all!
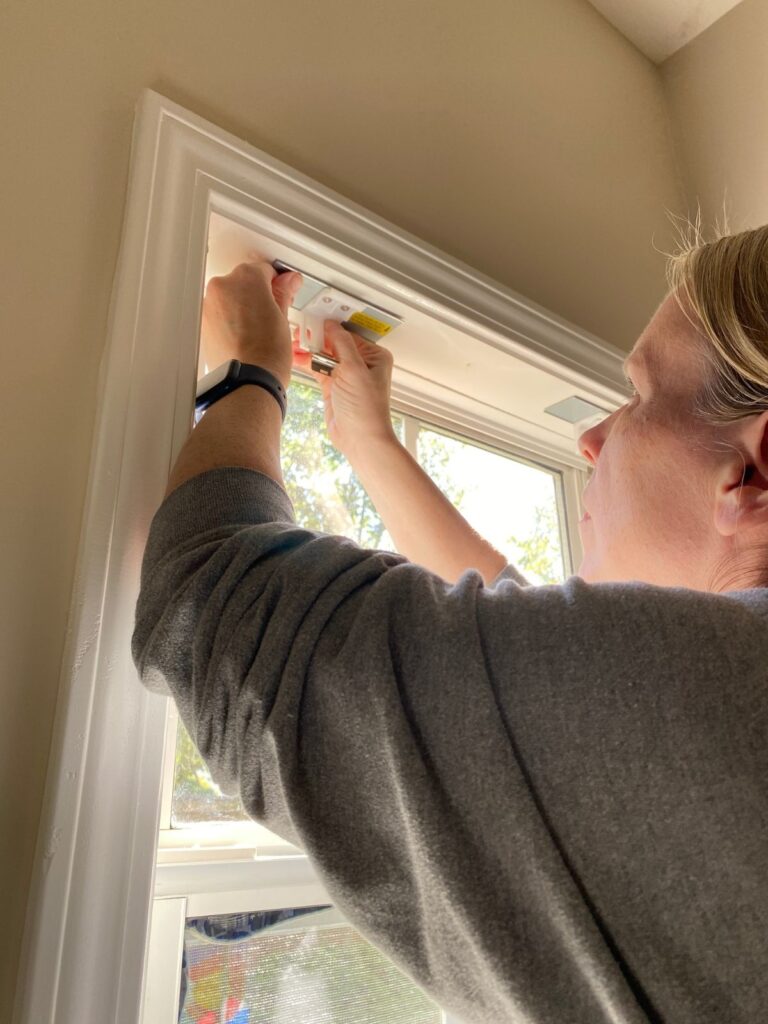
This is what the window looked like before I put the blinds onto the brackets. We will just ignore the fact that my window really needs to be replaced (hopefully I can do that next year).
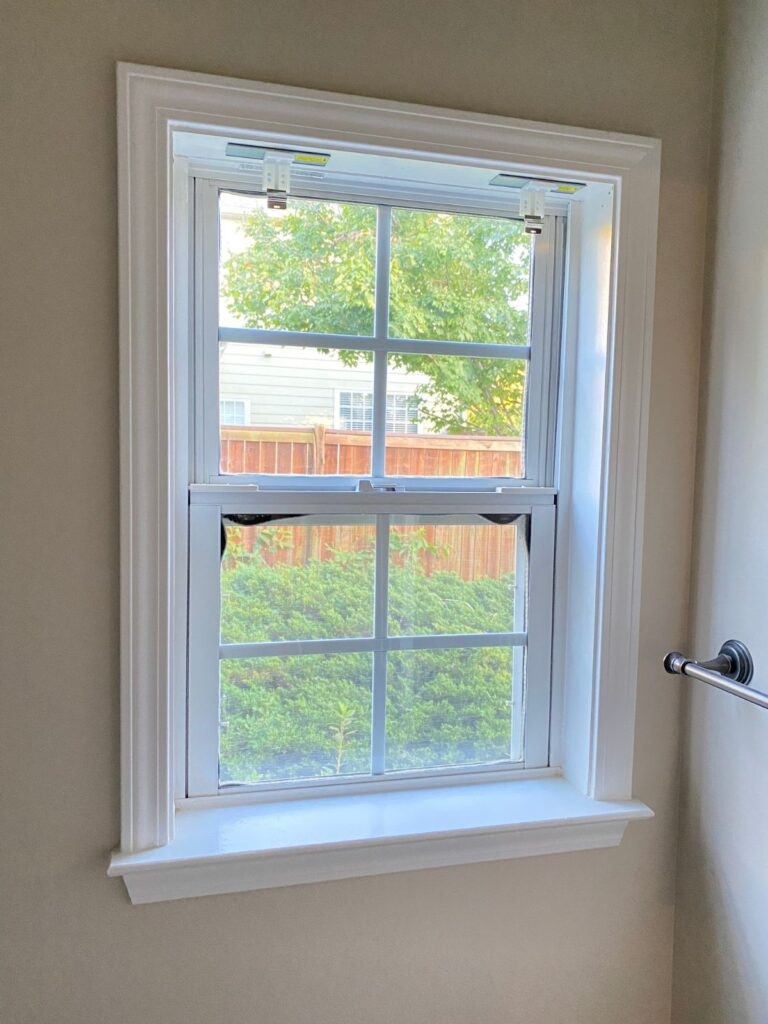
After waiting an hour for the adhesive to be fully secure, I then easily popped the blinds onto the brackets! I pulled the blinds all the way down after this picture, and waited until the next day to adjust them up and down. But they were already really secure – no issues at all!
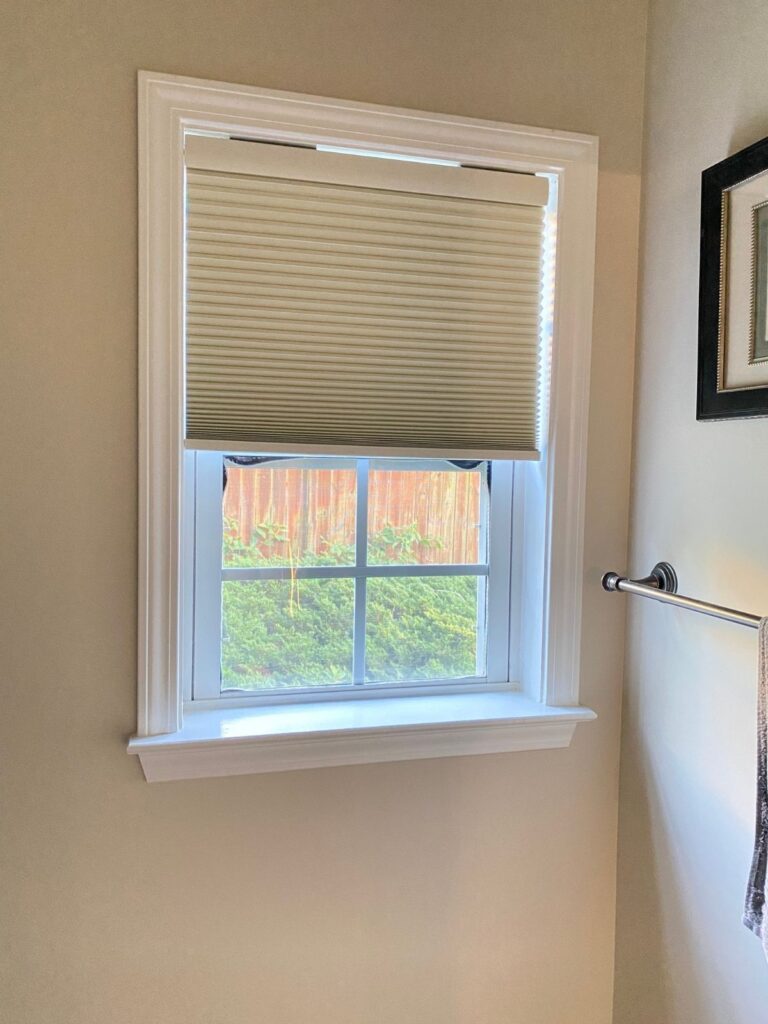
The whole process took less than 10 minutes (plus an hour of wait time for the brackets to fully adhere).
I really expected that I would have to measure something or be super precise with where the brackets had to be installed, but that wasn’t the case at all.
The installation is so simple, that I can confidently say my mother-in-law (and even my teenagers ) could successfully complete this type of project. It’s perfect for a beginner, or someone who likes a little bit of DIY without using any tools!
Where to Find No Tools Blinds
If you find yourself on a budget but wanting to elevate the look of your home with blinds, a retailer that offers DIY no tools blinds is the best option for your home.
Blindster is one of the largest online retailers for custom window treatments. Founded by Kyle Cox, Blindster offers high-quality custom blinds, shades, and shutters dedicated to outstanding customer service.
“Home improvement projects can be daunting, especially for people who don’t own tools or have the experience,” explains founder and CEO of Blindster, Kyle Cox. “Our No Tools products take away this stress and make installing custom blinds and shades a breeze.”
Plus, those renting or living alone don’t have to leave holes in the wall or rely on others’ help when installing.
For my half bath, I went with the No Tools Cordless Blackout Cellular Shades in Daylight (slightly off-white color). Cordless blinds are safer with little kids in the house, and I liked the look of the cellular shades. Blindster does have other options as well, including aluminum blinds, light-filtering cellular shades, and top down bottom up cellular shades.
It’s super easy to find what you’re looking for in a variety of colors, and with customized sizes to fit almost any window!
If you’re looking for blinds that are super easy to install without tools, definitely check out the options from Blindster. Questions about my experience? Just drop a comment below!

